


 6 Layers of Protection


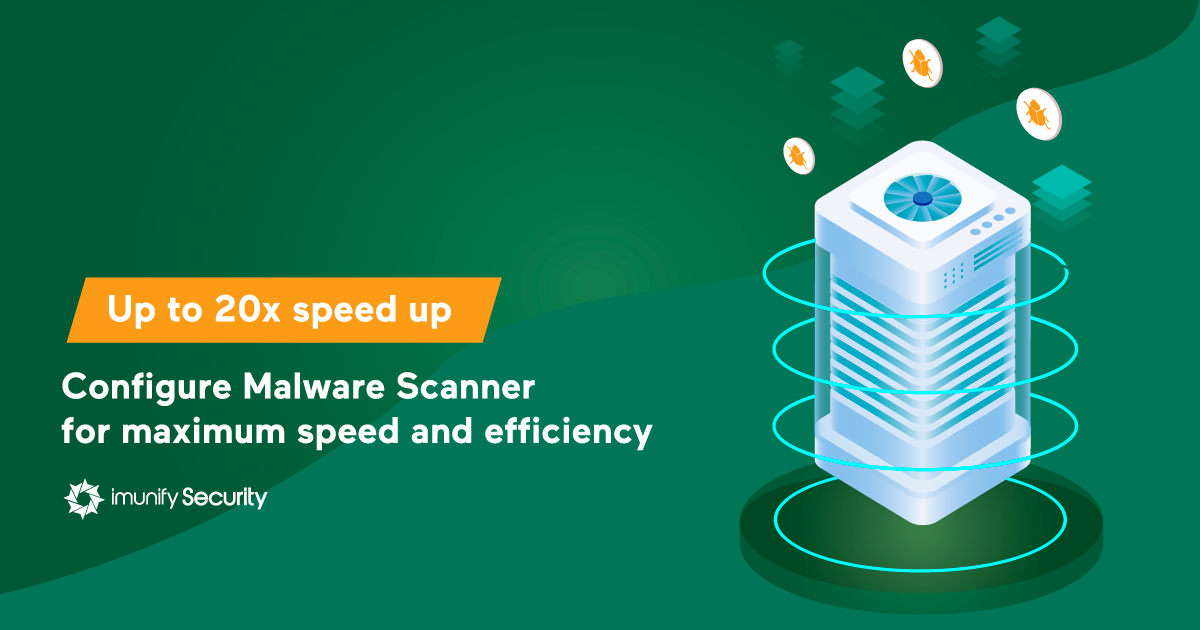
We’ve released Imunify360 4.3 to production and now it’s time to boost your Malware Scanner performance using new features and options.
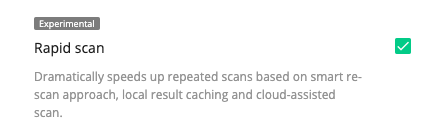
Setting #1: Faster scan, fewer resources used
This is something we’re really excited about. We’ve developed a more efficient approach to scanning files. We called it “Rapid Scan”. It’s a smarter way to identify which files have been modified or added since the last scan, and re-scan only the changed ones. It’s using a hash-based algorithm and heuristics (as we cannot rely on ctime/mtime parameters only).
We’ve just started to get feedback on it from many of our loyal customers. Here’s what one had to say:
“...it took 1080 seconds to scan 6 gigabyte (184k files in total) – a repeated run after the rapid scan had generated its cache, it came down to 76 seconds. (This excludes building the file list I believe), so that’s a massive improvement!...“
This customer got a 14x speed-up for the repeated run. Depending on the number of files, their type, size and the percentage of modified files, we expect speed improvements to be in the range 5x to 20x.
Please note that, in this version, we don’t enable this setting by default, so you need to turn it on in Settings or via the CLI. Here’s how.
| To take advantage of these new improvements, go to your Imunify control panel and enable RapidScan in Settings→Malware Scanner. |
If you’re adept at using the Command-Line Interface, the following command will enable the option:
imunify360-agent config update '{"MALWARE_SCANNING": {"rapid_scan": true}}'
We’d love to hear how much you’ve gained on the second / third re-scans by enabling this option. Tell us via feedback@imunify360.com. Set this up now and discover the full capacity of Imunify360' Linux malware scanner.
Setting #2 and #3: Run it daily with Auto-Cleanup enabled
We’ve noticed that the majority of our customers haven’t yet enabled a regular scan (daily or weekly) and haven’t switched to the Auto-Cleanup default option.
This setting is crucial to beat the issue with server infection and its consequences (such as re-infections, excessive resource usage, outgoing spam, etc).
| Change in Settings → Malware → General → Background Scanning. |
.png?width=512&name=unnamed%20(1).png)
|
Change in Settings → Malware → General → Default action on detect. |
.png?width=512&name=unnamed%20(2).png)
It can also be easily done via the Command-Line Interface, to update both weekly intervals of scan and auto-cleanup on malware infection:
imunify360-agent config update '{"MALWARE_SCANNING": {"default_action": "cleanup"}, "MALWARE_SCAN_SCHEDULE":{"interval": "week"}}'
Once you configure Imunify360 Malware Scanner this way, you get a malware-free server automatically. Set this up now and discover the full potential Imunify360' Linux malware scanner.
Let us know how it’s going with a server infection when options are enabled via feedback@imunify360.com.


.png?width=115&height=115&name=pci-dss%20(1).png "pci-dss")